Create an Account Service
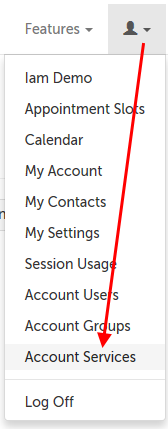
1. Click on the profile icon in the upper right hand corner and select "Account Services" from the menu.

2. Scroll down to the bottom of the page and click the "Create Service" button.

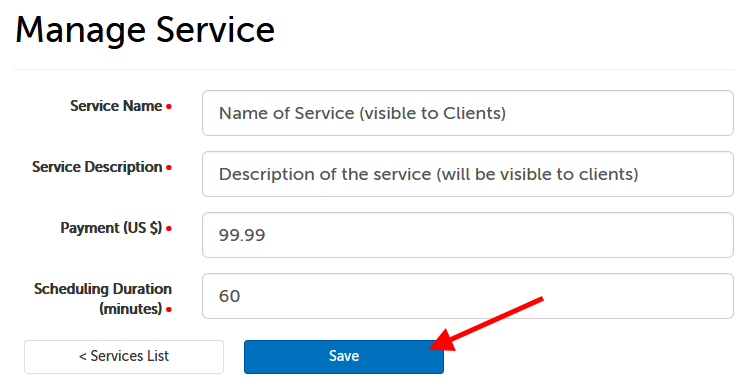
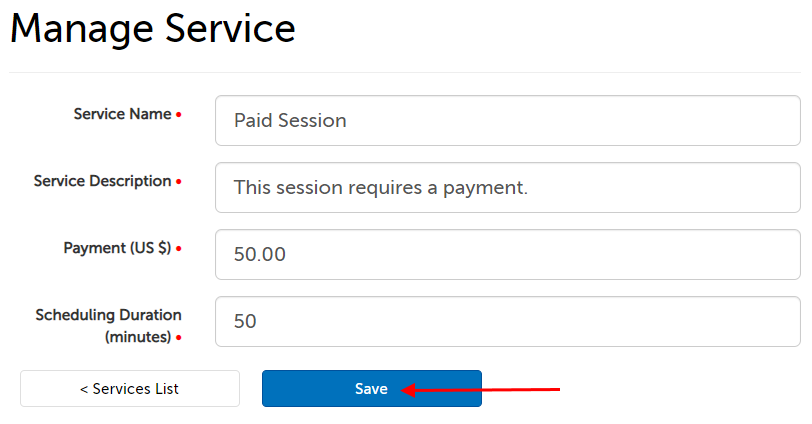
3. Fill out the fields as appropriate.

- Service Name: Enter the name of the service as it should appear to participants.
- Service Description: Enter the description of the service as it should appear to participants.
- Payment (US $): If applicable, enter the amount the participant must pay before entering the session. (Include only digits, or a decimal point.)
- Scheduling Duration (minutes): Enter the number of minutes that should be blocked off for the service in your scheduling calendar.
4. Click the "Save" button to create your service.
Edit an Account Service
1. Click on the profile icon in the upper right hand corner and select "Account Services" from the menu.

2. Click the "Edit" button next to the service you want to edit.

3. Make any desired edits and click the "Save" button at the bottom of the page.

Delete an Account Service
NOTE: If the Account Service is being used in any Virtual Clinic (such as the public booking calendar), it will need to be removed from the Virtual Clinic before it can be deleted here. Please contact [email protected] if you would like to remove a service from a Virtual Clinic.
1. Click on the profile icon in the upper right hand corner and select "Account Services" from the menu.

2. Click the "Delete" button next to the service you want to delete.

3. On the confirmation window that appears, click "Remove" to confirm you would like to delete this service.

This article was last reviewed by our Support team on August 22, 2022.